How to Replace Roof on RV: Step-by-Step Guide
Replacing a roof on an RV is important. A good roof keeps you safe. It protects you from rain and sun. It makes your RV strong.
Why Replace Your RV Roof?
Sometimes, roofs get damaged. Weather can harm them. Animals can scratch them. Old age can wear them down. A damaged roof can leak water. It can make your RV messy. It can cause mold and bad smells.

Credit: www.flatroofsolutions.com
Things You Need
- A ladder to reach the roof.
- A tape measure to check sizes.
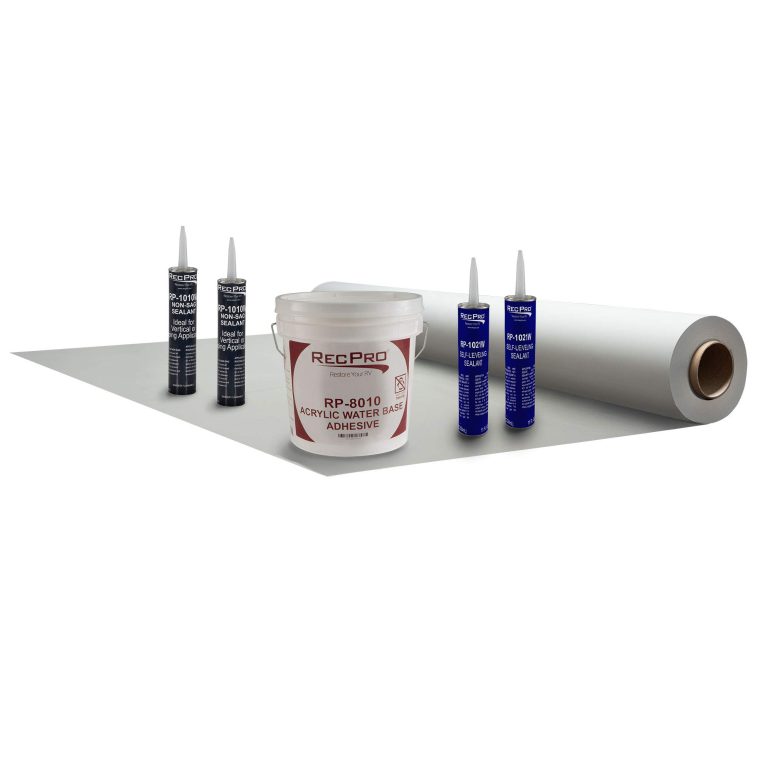
- Roof material like rubber or metal.
- Adhesive to stick the roof.
- A knife to cut materials.
- Screws to hold the roof.
- A drill to make holes.
- Sealant to stop leaks.
Steps to Replace Your RV Roof
1. Measure The Roof
First, measure the roof. Use a tape measure. Measure length and width. Write down the numbers. You need this for buying materials.
2. Remove Old Roof
Next, take off the old roof. Use a ladder to climb up. Use a knife to cut the old roof. Be careful. Take off screws with a drill. Remove old adhesive.
3. Clean The Surface
Now, clean the surface. Use water and soap. Scrub it well. Make sure there is no dirt. A clean surface helps new material stick better.
4. Prepare New Roof Material
Get new roof material. Cut it according to measurements. Use a knife. Make sure it fits well. Prepare adhesive for sticking.
5. Attach New Roof
Place new material on the RV. Use adhesive to stick it. Press down firmly. Use screws to secure it. Make sure it’s tight.
6. Seal Edges
Use sealant on edges. This stops water from leaking. Apply it carefully. Check every corner. Make sure it’s sealed well.
7. Check Your Work
Look at the roof. Check for gaps or loose areas. Fix them if needed. Make sure everything is secure.
Tips for Success
- Work on a sunny day. Rain can ruin your work.
- Ask a friend for help. Two people work faster.
- Take breaks. Work slowly and carefully.
- Read instructions on materials. Follow them closely.
- Check for warranties. Some materials have guarantees.

Credit: www.youtube.com
Common Mistakes to Avoid
Some mistakes are common. Do not rush. Rushing can lead to errors. Do not skip cleaning. Dirt can cause problems. Do not forget sealant. Sealant keeps water out.
Frequently Asked Questions
How Do I Start Replacing My Rv Roof?
Begin by removing the old roof. Carefully inspect for damage. Then clean the surface thoroughly before installing the new roof.
What Materials Are Best For Rv Roof Replacement?
EPDM rubber, fiberglass, and TPO are popular choices. They are durable and weather-resistant, ensuring a long-lasting roof.
Can I Replace My Rv Roof Myself?
Yes, you can. But it requires time, tools, and patience. Consider professional help if unsure about the process.
How Long Does Rv Roof Replacement Take?
It usually takes a few days. Time varies depending on damage extent and your experience level.
What Are Common Mistakes In Rv Roof Replacement?
Ignoring leaks, using wrong materials, or improper installation. These can lead to costly repairs later.
How Often Should Rv Roofs Be Replaced?
Typically every 10 to 15 years. Regular inspection helps identify issues early, extending roof life.
Conclusion
Replacing an RV roof is a big job. But you can do it. Follow these steps. Use the right tools. Take your time. Soon, your RV will have a new roof.