How to Install Roof Vent on RV: A Step-by-Step Guide
Installing a roof vent on an RV is important. It helps keep the air fresh and cool. This guide will help you install it easily.
Why You Need a Roof Vent
A roof vent helps air move inside your RV. It takes hot air out and lets cool air in. This keeps the RV comfortable. In summer, it helps a lot.
Tools You Will Need
- Drill
- Screwdriver
- Sealant
- Measuring tape
- Marker
- Roof vent kit
- Ladder
- Safety glasses
Step-by-Step Guide to Install a Roof Vent
Follow these steps to install your roof vent. Take your time. Make sure you are safe.
Step 1: Choose The Right Spot
First, find the best place for the vent. Choose a spot on the roof. Make sure there are no wires or beams below. Use a measuring tape to check.
Step 2: Mark The Spot
Use a marker to mark the spot. Draw a circle where you want the vent. Check if the vent fits the spot.
Step 3: Cut The Hole
Put on your safety glasses. Use the drill to make a hole in the roof. Follow the circle you marked. Make sure the hole is clean and smooth.
Step 4: Place The Vent
Take the vent out of the box. Place it over the hole. Check if it fits well. Adjust if needed.
Step 5: Secure The Vent
Use a screwdriver to secure the vent. Tighten the screws around the vent. Make sure it does not move.
Step 6: Seal The Edges
Take the sealant and cover the edges. This stops water from getting in. Make sure all edges are sealed well.
Step 7: Test The Vent
Now, test your vent. Open and close it. Check if it works well. Make sure it is secure.
Tips for Success
- Check the weather before you start. Do not work in rain.
- Have a friend help you. It makes the job easier.
- Read the manual of the vent kit. Follow the instructions.
- Check for any leaks after installation. Seal them right away.

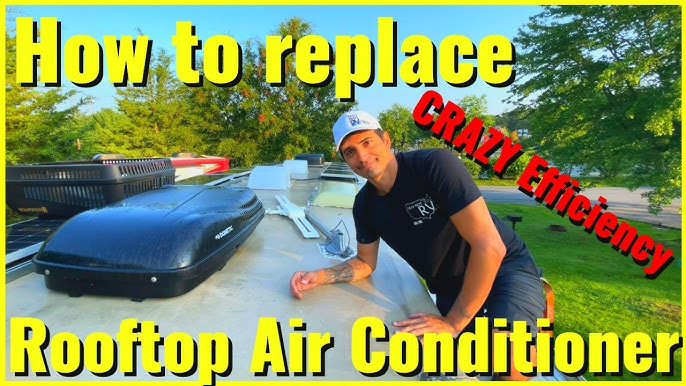
Credit: www.youtube.com
Safety First
Safety is very important. Use a ladder carefully. Wear safety glasses. Do not rush. Take your time.
Maintenance of Roof Vent
Keep your vent clean. Check it often. Look for any damage. Fix it if needed. Clean the vent to keep it working well.

Credit: blog.campingworld.com
Frequently Asked Questions
What Tools Do I Need To Install A Roof Vent?
You’ll need a screwdriver, sealant, and a drill. Basic tools for a smooth installation.
How Do I Choose The Right Roof Vent For My Rv?
Consider size, material, and ventilation needs. Match your RV’s specifications.
Can I Install A Roof Vent Myself, Or Hire A Professional?
Yes, you can. Many RV owners do it themselves. Read instructions carefully.
How Long Does It Take To Install A Roof Vent?
Typically, it takes 2-4 hours. Depends on your experience and RV model.
Do I Need To Seal The Roof Vent After Installation?
Yes, sealing prevents leaks. Use RV-specific sealant for best results.
What Are The Benefits Of Adding A Roof Vent To An Rv?
Improves airflow and reduces moisture. Keeps your RV interior fresh.
Conclusion
Installing a roof vent on your RV is easy. Follow the steps carefully. Enjoy fresh air and comfort in your RV.