How to Seal RV Rubber Roof: Step-by-Step Guide
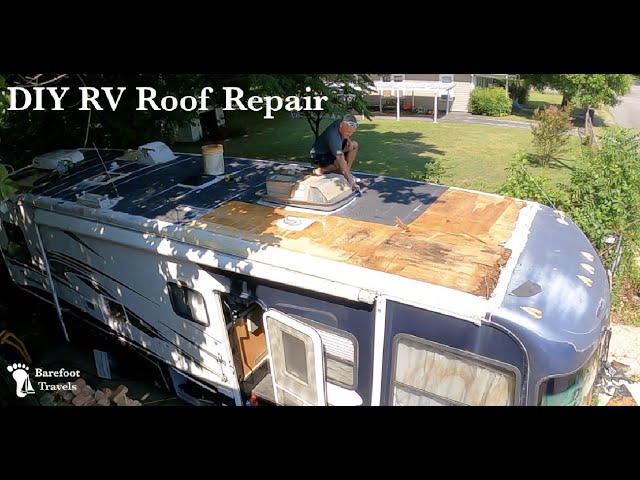
Owning an RV is a joy. It gives you freedom to explore. But, your RV needs care too. One part that needs attention is the roof. RV roofs can get damaged by weather. Leaks can happen. But don’t worry! You can seal your RV rubber roof. This will protect it from leaks and damage.

Credit: www.amazon.com
Why Seal Your RV Rubber Roof?
Sealing your RV roof is important. It keeps water out. Water can damage your RV. It can cause mold. Mold is bad for health. Sealing the roof can save you money. It prevents costly repairs. A sealed roof lasts longer. It keeps your RV safe.

Credit: www.ebay.com
Tools You Need
Before you start, gather some tools. Here’s what you need:
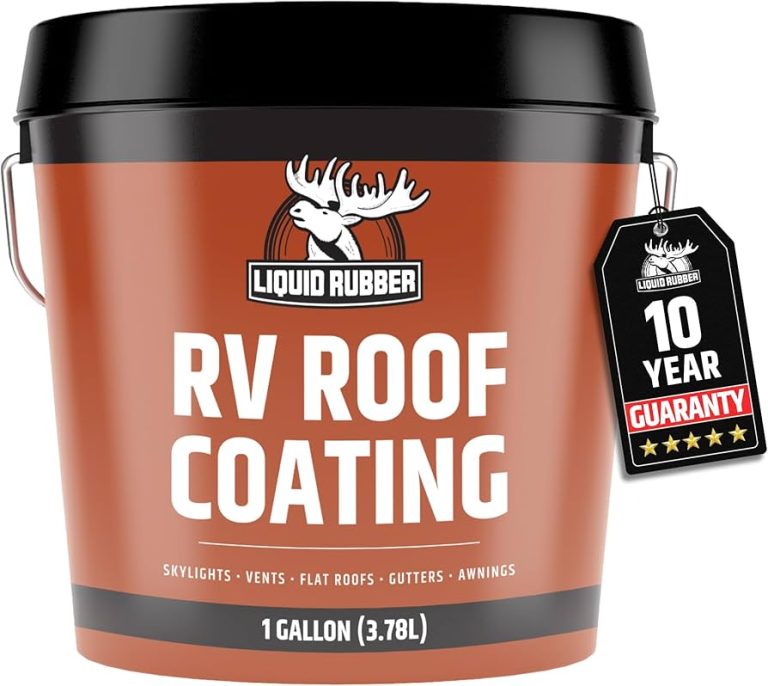
- Rubber roof sealant
- Clean cloth or sponge
- Ladder
- Bucket of water
- Soft brush
- Safety gloves
- Protective eyewear
Having these tools ready makes the job easier. Safety first! Wear gloves and eyewear. This protects your skin and eyes.
Step-by-Step Guide
Step 1: Clean The Roof
First, clean the roof. Use a soft brush. Remove dirt and debris. This helps the sealant stick better. Use a clean cloth and water. Wipe the roof clean. Let it dry. A clean roof is ready for sealing.
Step 2: Inspect The Roof
Look for any damage. Check for cracks or holes. If you find any, fix them. You can use patch kits. Repairing damage helps the sealant work well.
Step 3: Apply The Sealant
Now, it’s time to seal. Use rubber roof sealant. Follow the instructions on the label. Start at one end of the roof. Work your way to the other end. Apply the sealant evenly. Make sure to cover all areas. This will keep water out.
Step 4: Let It Dry
After sealing, let it dry. This can take a few hours. Check the label for drying time. Do not touch the roof while it dries. This helps the sealant set properly.
Benefits of Sealing Your RV Roof
Sealing your RV roof has many benefits. It keeps your RV safe. It prevents leaks. It protects against weather damage. Your RV will last longer. You won’t need repairs often. You save money in the long run.
When to Seal Your RV Roof
Sealing should be done regularly. Check your roof twice a year. Look for signs of wear. If you see damage, seal it. It’s best to seal before rainy seasons. This keeps water out. Your RV stays dry.
Common Mistakes to Avoid
Be careful when sealing. Avoid these mistakes:
- Using the wrong sealant
- Not cleaning the roof before sealing
- Skipping roof inspection
- Applying sealant unevenly
- Not allowing enough drying time
These mistakes can cause problems. Follow the steps carefully. Your roof will be sealed well.
Frequently Asked Questions
Why Should You Seal An Rv Rubber Roof?
Sealing prevents leaks. Protects against UV damage. Extends the roof’s lifespan. Essential for RV maintenance.
How Often Should You Reseal An Rv Roof?
Check every six months. Reseal yearly or when cracks appear. Regular inspections save money.
What Materials Are Needed To Seal An Rv Roof?
You need rubber roof sealant, a brush, and a cleaner. Simple tools for a big job.
Can You Seal An Rv Roof Yourself?
Yes, it’s doable. Follow instructions carefully. Ensure safety. Saves on repair costs.
How Do You Clean An Rv Roof Before Sealing?
Use mild soap and water. Scrub gently. Rinse thoroughly. Ensure the surface is dry.
What’s The Best Time Of Year To Seal An Rv Roof?
Spring or fall. Moderate temperatures help sealant cure better. Avoid extreme weather.
Conclusion
Sealing your RV rubber roof is easy. It protects your RV from leaks. It prevents damage. Follow the steps in this guide. Your RV will be safe and dry. Regular maintenance is key. Check your roof often. Seal it when needed. Enjoy your RV adventures!