How to Reseal Your RV Roof: Expert Tips & Tricks
Resealing your RV roof is important. It keeps your RV safe from water leaks. Leaks can cause big problems. They can damage your RV. Resealing is not hard. You can do it yourself. Here is how you can do it.
Why Reseal Your RV Roof?
Water leaks can hurt your RV. They can cause mold. Mold is bad for health. Leaks can also damage the walls. Walls can get soft and weak. Resealing stops leaks. It protects your RV. It keeps it strong and safe.
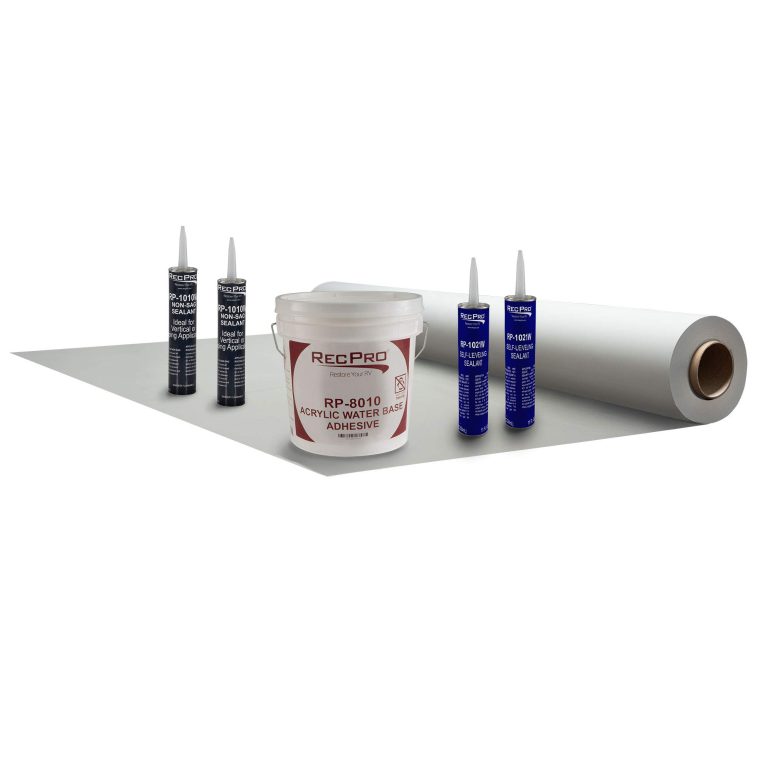
Tools You Need
- Sealant
- Clean cloth
- Scraper
- Brush
- Ladder
- Bucket of water
- Soap
Make sure you have all tools. They help you do the job well.
Step-by-Step Guide to Reseal
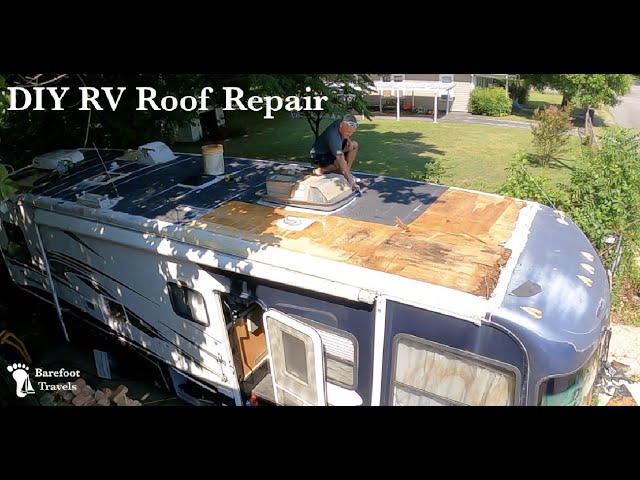
Step 1: Clean The Roof
First, clean the roof. Use a ladder to reach the roof. Be careful when climbing. Use soap and water. Wash away dirt and dust. Dirt can stop sealant from sticking well. Use a brush to scrub gently. Let the roof dry.
Step 2: Remove Old Sealant
Old sealant can crack. Cracks cause leaks. Use a scraper to remove old sealant. Scrape gently. Do not scratch the roof. It must be clean and smooth.
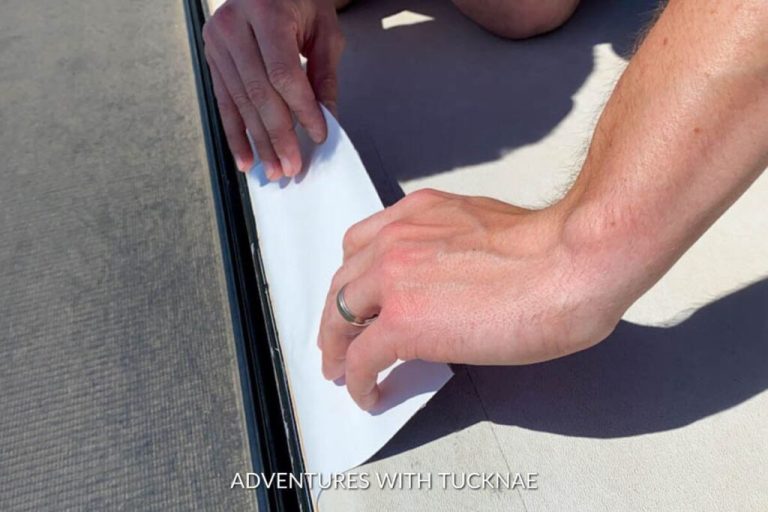
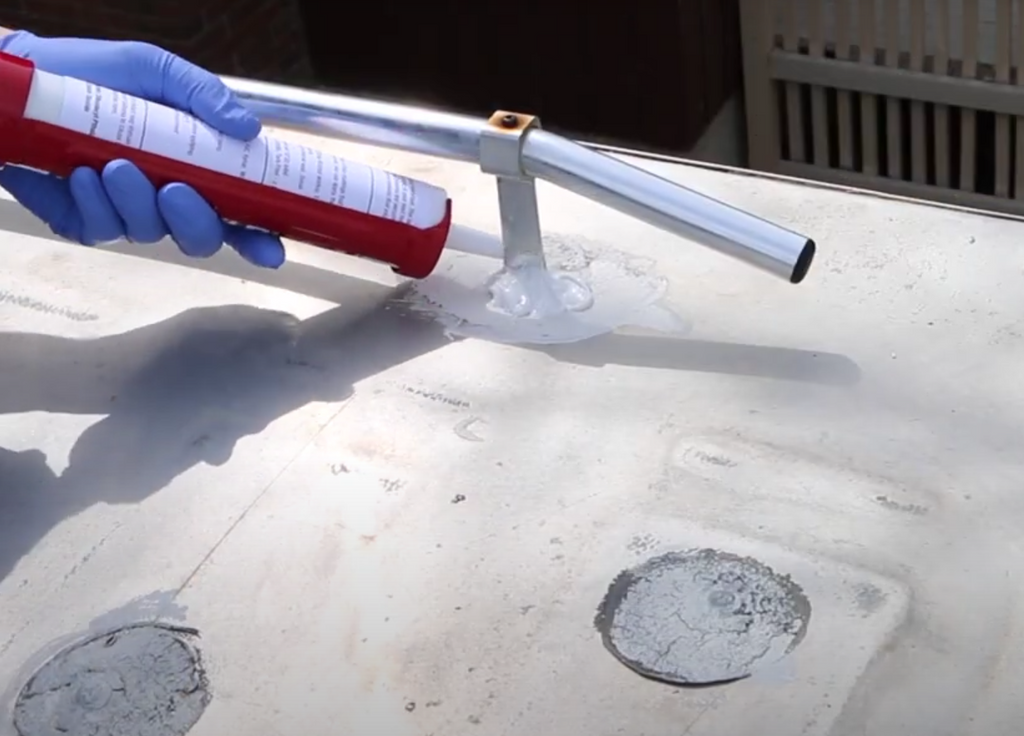
Step 3: Apply New Sealant
Now, it’s time to seal. Use a clean cloth. Wipe the roof. This removes any leftover dust. Take the sealant. Apply it evenly on the roof. Cover all seams and edges. Make sure there are no gaps. Sealant must be thick enough.
Step 4: Let Sealant Dry
Drying is important. Do not touch the sealant. Let it dry completely. Drying can take a few hours. Check the label on the sealant. It tells you how long to wait.
Step 5: Inspect Your Work
Once dry, inspect your work. Look for missed spots. Look for gaps. If you find any, apply more sealant. Check edges and corners. They need extra care.
Credit: rvflexrepair.com

Credit: www.youtube.com
Tips for Resealing
- Choose a sunny day. It helps the sealant dry faster.
- Wear gloves. They protect your hands.
- Read instructions on the sealant. Follow them closely.
- Be patient. Take your time for best results.
When to Reseal Your RV Roof?
Check your RV roof regularly. Look for cracks or peeling. If you see them, it’s time to reseal. Usually, reseal once a year. This keeps your RV safe.
Common Mistakes to Avoid
- Don’t rush. Rushing can cause mistakes.
- Don’t skip cleaning. Clean roof is key for good seal.
- Don’t use too little sealant. Gaps will cause leaks.
Frequently Asked Questions
How Often Should You Reseal An Rv Roof?
Reseal your RV roof every two years. Regular checks can prevent leaks and damage.
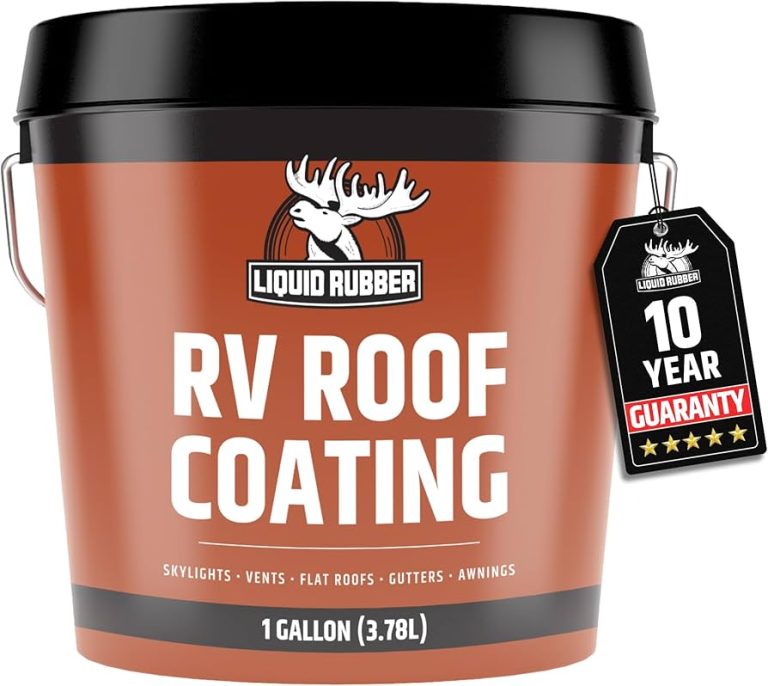
What Materials Are Best For Resealing?
Use EPDM rubber or silicone sealant. Both offer excellent waterproofing and durability.
How Can You Spot Roof Leaks Early?
Look for water stains or mold. Check corners and seams regularly for any signs of wear.
Can Resealing Be A Diy Project?
Yes, resealing can be DIY. Follow instructions carefully and ensure proper safety measures.
Why Is Resealing Important For Rv Maintenance?
Resealing prevents water damage and maintains roof integrity. It prolongs the RV’s lifespan.
What Tools Are Needed For Resealing?
You’ll need a caulking gun, sealant, ladder, and safety gear. Ensure tools are in good condition.
Conclusion
Resealing your RV roof is easy. It keeps your RV safe. Follow these steps. Use the right tools. Check your roof often. This prevents problems. Protect your RV. Enjoy safe travels.
Remember these tips. They help you reseal like a pro. Keep your RV strong and happy. Happy resealing!