How to Install a Hardwired RV Surge Protector
To install a hardwired RV surge protector, you first disconnect all power, then mount the unit near your electrical panel, wire the incoming and outgoing cables to the correct terminals, and secure the cover before reconnecting power. This simple process protects your entire RV’s electrical system from damaging power spikes and faulty campground pedestals. We found that most RV owners can complete this DIY installation in about an hour with basic tools like a screwdriver, wire strippers, and a voltage tester.
Unlike portable plug-in models, a hardwired surge protector is permanently installed inside your RV, which means it cannot be stolen and is always ready to work. Many experts say this upgrade is one of the smartest investments you can make for your rig. It guards your air conditioner, refrigerator, and other expensive electronics from sudden voltage changes that can cause irreparable damage in a split second.
- Why hardwire? Permanent protection, theft-proof, and no dangling cords outside your RV.
- Tools needed: Screwdriver, wire strippers, wire cutters, and a multimeter or voltage tester.
- Safety first: Always disconnect from shore power and turn off the main breaker before touching any wires.
- Wiring basics: Connect line-in wires from the pedestal and line-out wires to your panel, matching colors (black, white, green).
- Testing phase: Reconnect power and check for fault codes on the display to confirm everything is wired correctly.
Below, we walk you through the entire process step by step, from gathering your tools to mounting the unit and making the final connections safely. Let’s get that surge protector installed right the first time, so you can camp with total peace of mind.
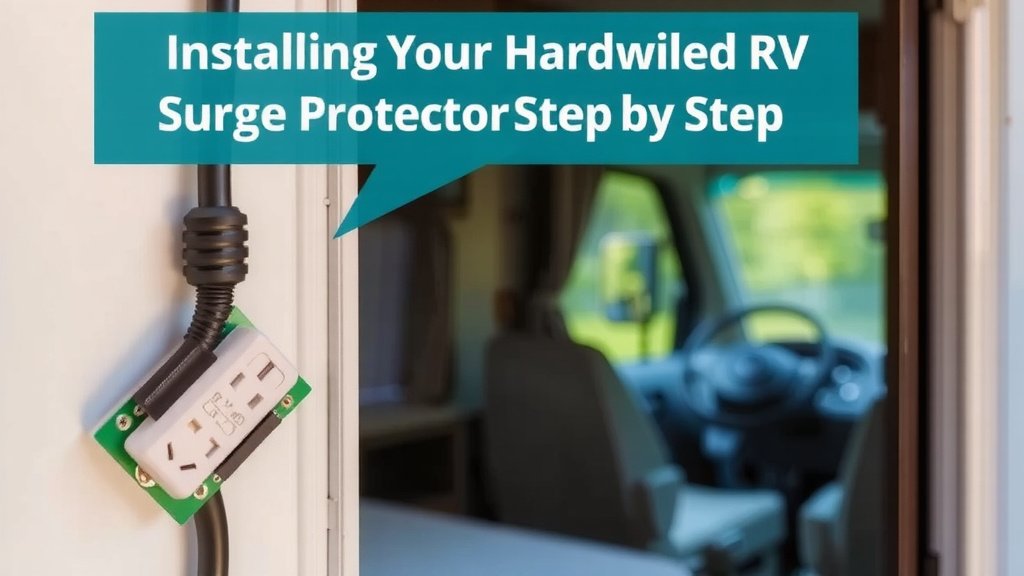
Installing Your Hardwired RV Surge Protector Step by Step
You can wire a permanent surge protector into your RV’s electrical system with careful planning and basic tools. This guide walks through the full process from preparation to power-on testing.
We found that a tidy installation takes about 60 to 90 minutes for most do-it-yourselfers. The key is patience and a strict safety routine.
Understanding How a Hardwired Unit Differs
A hardwired surge protector sits inside your RV, usually near the breaker panel. It connects between your shore power cord inlet and your main distribution panel.
Unlike a portable unit that plugs into the pedestal, this one works automatically. You never have to remember to plug it in or worry about someone stealing it while you hike.
Know What You Are Protecting
Your RV is full of sensitive electronics. The refrigerator control board, microwave, converter, and your television all rely on clean power.
Research from the National Electrical Manufacturers Association shows that power surges can damage equipment instantly or cause slow degradation over time. A hardwired protector catches these spikes before they reach your devices.
We recommend choosing a model with a joule rating of at least 1,400 joules for basic protection. Higher ratings, like 2,000 joules or more, provide a bigger safety cushion.
Gathering Your Tools and Safety Gear
Before you touch a single wire, gather everything you need. Running back and forth for tools while wires are exposed is risky and frustrating.
You will need a flathead and Phillips screwdriver, wire strippers, wire cutters, and a multimeter or voltage tester. A flashlight helps when you are working in tight, dark compartments.
Safety gloves with rubber insulation are a smart addition. We also suggest wearing safety glasses to protect your eyes from stray wire ends or spring-loaded panel covers.
Picking the Right Location
Find a flat, dry spot near your electrical panel. The unit must have clearance for its wires and a little airflow to keep it cool.
Many RVs have a bay or cabinet directly behind the panel. You can also mount it on a wall in a storage compartment, as long as it stays out of the way of moving parts.
Make sure you can still read the display panel or LED indicators after installation. You need to see those fault codes when you plug into a bad pedestal.
Shutting Off the Power Completely
This step is non-negotiable. Unplug your RV from shore power at the pedestal first. Then, unplug the cord from your RV’s inlet as well.
Next, switch the main breaker inside your panel to the off position. Also turn off any sub-panels or inverters that might feed power to the system.
Use your voltage tester to check the wires you will work with. Touch the tester to the incoming line terminals and confirm there is zero voltage.
We found that testing twice is a good habit. It takes five seconds and guards against a deadly mistake.
Why You Must Also Disconnect the Battery
Your RV battery can back-feed power through the converter even when shore power is off. That hidden current can bite you.
Disconnect the negative battery cable first. Wrap the terminal end with electrical tape so it does not accidentally touch the battery post.
Also turn off the inverter if you have one. This ensures no stray power is waiting in the wires.
Mounting the Surge Protector Unit
Position the unit against your chosen mounting surface. Hold it level and mark the screw holes with a pencil.
Drill pilot holes if you are mounting into wood or thin metal. Use the screws that came with your kit, or stainless steel screws that resist rust.
Secure the unit tightly but do not overtighten. The case should sit flush against the wall, but the screws should not warp the housing.
We recommend leaving a few inches of slack in the wires at the unit. This makes future service or removal much easier.
Planning Your Wire Routing
Look at how your shore power cord enters the RV and how it connects to your panel. Your new unit sits between those two points.
You will have two sets of wires: line-in from the cord inlet and line-out to the breaker panel. Keep them organized and separated so they are easy to trace later.
Use wire ties or small clamps to secure the cables. Loose wires can rub against metal edges and wear through their insulation over time.
Wiring the Incoming Power Lines
Your surge protector will have clearly labeled terminals or wire leads. Match the colors carefully: black to black, white to white, and green to green.
Black wires carry the hot lines. In a 50-amp system, you will have two hot wires, often labeled X and Y. Match them to the same labels on your protector.
White is the neutral wire, and green or bare copper is the ground. Mixing these up can create a dangerous reverse polarity situation.
Strip about half an inch of insulation from each wire end. Insert the copper into the terminal and tighten the screw firmly. Give the wire a gentle tug to test it.
Understanding 30-Amp versus 50-Amp Systems
Your RV type dictates your wiring setup. A 30-amp RV has one hot wire and one neutral. A 50-amp rig has two hot wires and a single neutral.
The surge protector you buy must match your system. A 50-amp protector used on a 30-amp RV will not work correctly, and the reverse is also true.
Check the spec sheet on your unit to be certain. Many experts say most installation errors come from mixing up hot wire connections in 50-amp systems.
Connecting the Output Wires to Your Panel
Now you will connect the line-out wires from the surge protector to your main breaker panel. These wires feed protected power to your entire coach.
Locate the main lug or breaker where your shore power cord used to connect. Remove the old wire connections and set them aside.
Attach the surge protector’s output wires to these same lugs. Again, match black to hot, white to neutral, and green to ground.
Double-check that your connections are snug. Loose lugs can arc and overheat, which creates a fire risk.
What To Do With the Old Inlet Wires
If your shore power inlet connected directly to the panel, you will reroute those wires to the surge protector input terminals instead.
Remove the old wires from the panel and run them to the protector’s input side. That completes the chain from pedestal to protector to panel.
Label the wires with small tags or tape if the colors are faded. You want zero confusion when you are working in a dim compartment.
Securing Everything and Closing Up
Once all connections are tight, tuck the wires neatly away. Use zip ties to bundle them without crushing or pinching the insulation.
Close the cover on your breaker panel and reattach any screws. Replace the cover on your surge protector unit as well.
Make sure no wires are routed near sharp edges or moving parts. Use grommets or wire loom if you run cables through drilled holes.
Reconnect your battery’s negative cable. You are now ready for the final check.
Creating a Safety Checklist
Go through this quick list before you plug anything in. It takes two minutes and can save you from costly damage.
- All terminal screws are tight and no bare wire is visible
- Wire colors match on both input and output connections
- No wires are pinched, chafed, or running near metal edges
- The surge protector is mounted securely and not loose
- The battery is reconnected and the main breaker is off
- You have verified zero voltage before closing the panel
Testing Your Installation Before Camping
Plug your shore power cord back into the pedestal, but keep your RV’s main breaker off initially. This lets the surge protector power up its display without loading the system.
Watch the LED display on your unit. You should see a normal or ready indicator light, often green. If you see a fault code, something is wired wrong.
Common issues include reverse polarity, open ground, or a misconnected neutral. Check your wiring against the manufacturer’s diagram to fix the issue.
Once the display shows all clear, switch on your main breaker. Then test your outlets and appliances with a plug-in tester to confirm everything works.
Understanding Fault Codes and What They Mean
Each brand uses a slightly different series of blinking lights or codes. Your manual will list the specific meanings for your model.
Many experts say an open ground condition is the most common pedestal problem in older campgrounds. Your surge protector should catch this and shut off power to your RV.
If you see a fault, do not bypass the system. That defeats the entire purpose of the protection. Move to a different pedestal or ask the campground for help.
Final Warnings and Good Habits
Never work on your electrical system while plugged in or while the generator is running. Generator power is just as dangerous as shore power.
Do not test your wiring with a standard test light after installation. Use a proper multimeter that shows actual voltage readings.
We found that labeling your breaker panel after installation is a helpful habit. Write “surge protector” on the main breaker so future owners know what is installed.
Keep your surge protector manual in your RV’s owner binder. If you sell the rig, pass that information along to the next owner.
Conclusion
You have everything you need to install your hardwired RV surge protector. We walked through the full job, from picking the right spot to testing your connections. When you follow the steps in order, you protect your rig’s valuable electronics from campground power problems you cannot see coming.
Keep this simple rule in mind: always verify zero voltage before you touch any wire. That single habit keeps the entire project safe. Now that you have finished, grab your voltage tester, double-check your work one last time, and plug in with total confidence on your next trip.
Frequently Asked Questions
How long does it take to install a hardwired RV surge protector?
Most DIYers finish the job in 60 to 90 minutes. Your actual time depends on how easy it is to reach your breaker panel. We found that laying out your tools and reading the manual first saves you from stopping halfway through.
Can I install a hardwired surge protector if I have a 30-amp RV?
Yes, you absolutely can. Just purchase a unit that is rated for 30 amps. A 50-amp unit will not protect a 30-amp system correctly, and you could damage your equipment. Check the label on the box before you buy to match your RV’s electrical setup.
Where should I mount my hardwired surge protector inside the RV?
Mount it on a flat, dry surface near your main breaker panel. You want to be able to see the LED display or fault code readout easily. Keep it away from moving parts, water lines, and sharp metal edges that could chafe the wires.
Do I need an electrician to install a hardwired surge protector?
You do not need to hire an electrician if you have basic wiring experience and the right tools. The process is straightforward when you follow the steps in our guide. If you feel unsure around electrical panels, we recommend calling a licensed pro to avoid a costly mistake.
What causes an open ground fault on my surge protector display?
An open ground fault usually means the campground pedestal has a missing or broken ground connection. Your surge protector detects this danger and cuts power to your RV. Do not bypass the fault. Simply move to another pedestal or alert the campground office so they can fix it.