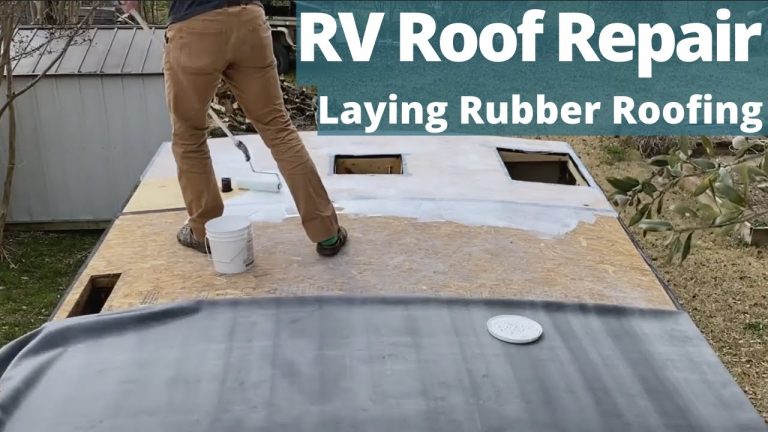
How to Replace RV Roof AC Unit: Expert DIY Guide
Replacing an RV roof AC unit can seem hard. But with guidance, you can do it. This guide will help you step by step.

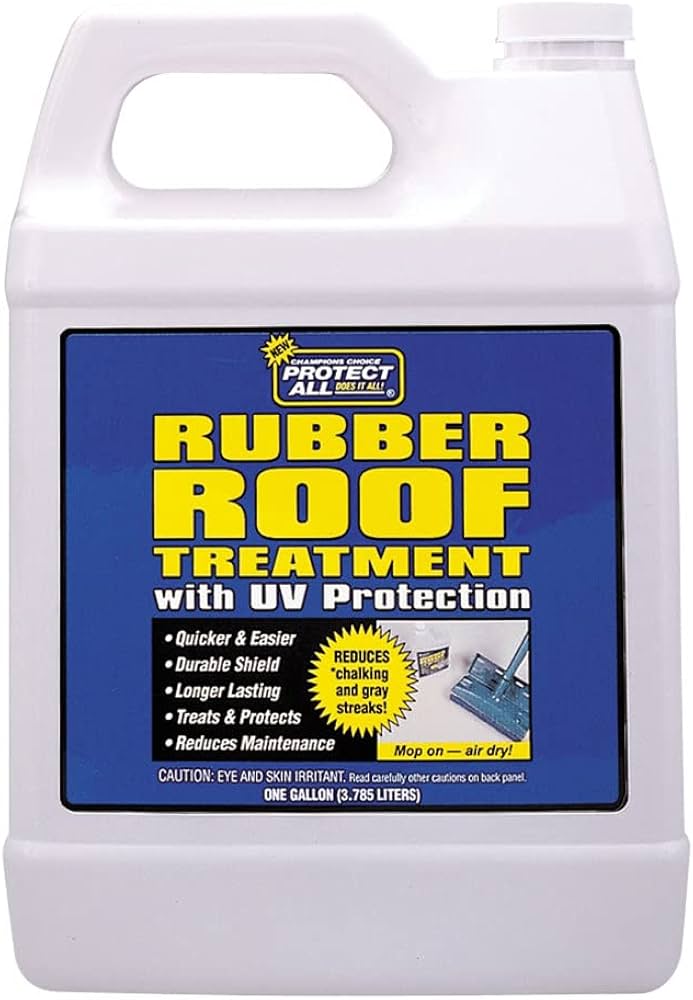
Credit: www.amazon.com
Why Replace Your RV Roof AC Unit?
Old AC units may not work well. Newer models can be better. They cool faster and use less power. Replacing can save money on energy.
Tools You Will Need
- Screwdriver
- Wrench
- Drill
- Ladder
- New AC unit
- Sealant
Gather these tools before you start. It will make the job easier.
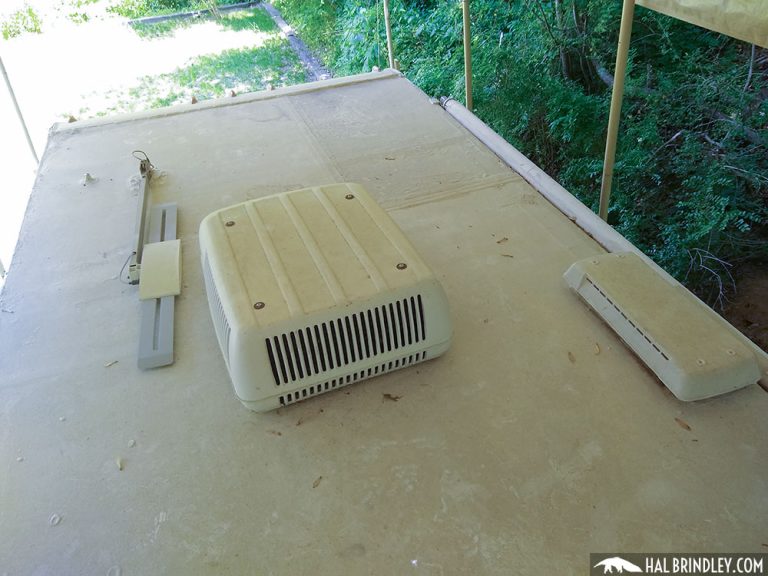
Steps to Remove the Old AC Unit
- Turn off power: Safety is key. Turn off the RV power.
- Climb to the roof: Use a ladder. Be careful.
- Remove the cover: Unscrew the AC cover. Use a screwdriver.
- Disconnect wires: Label the wires. Then, disconnect them.
- Loosen bolts: Use a wrench. Remove the bolts holding the AC.
- Lift the unit: Get help. Lift the old unit off the roof.
Now, the old AC unit is removed. Next, install the new one.
Steps to Install the New AC Unit
- Prepare the space: Clean the area. Remove old sealant.
- Place new unit: Position the new AC. Align it with the hole.
- Secure the unit: Use bolts. Tighten them with a wrench.
- Connect wires: Match them with labels. Connect each wire.
- Seal the edges: Apply sealant. Make sure there are no gaps.
- Replace the cover: Screw on the new cover. Ensure it is tight.
Great job! The new AC unit is now installed. It’s almost time to enjoy cool air.
Final Checks
- Check all connections. Make sure they are tight.
- Ensure the unit is secure. It should not move.
- Turn on the power. Test the AC unit.
- Feel the cool air. Enjoy your hard work.
If it doesn’t work, check the steps again. Make sure everything is connected right.
Tips for Success
- Read the AC manual. It may have specific instructions.
- Ask a friend for help. Two people make it easier.
- Be careful on the ladder. Safety is most important.
- Take your time. Rushing can lead to mistakes.
Replacing an AC unit is a big task. But with care, you can do it well.
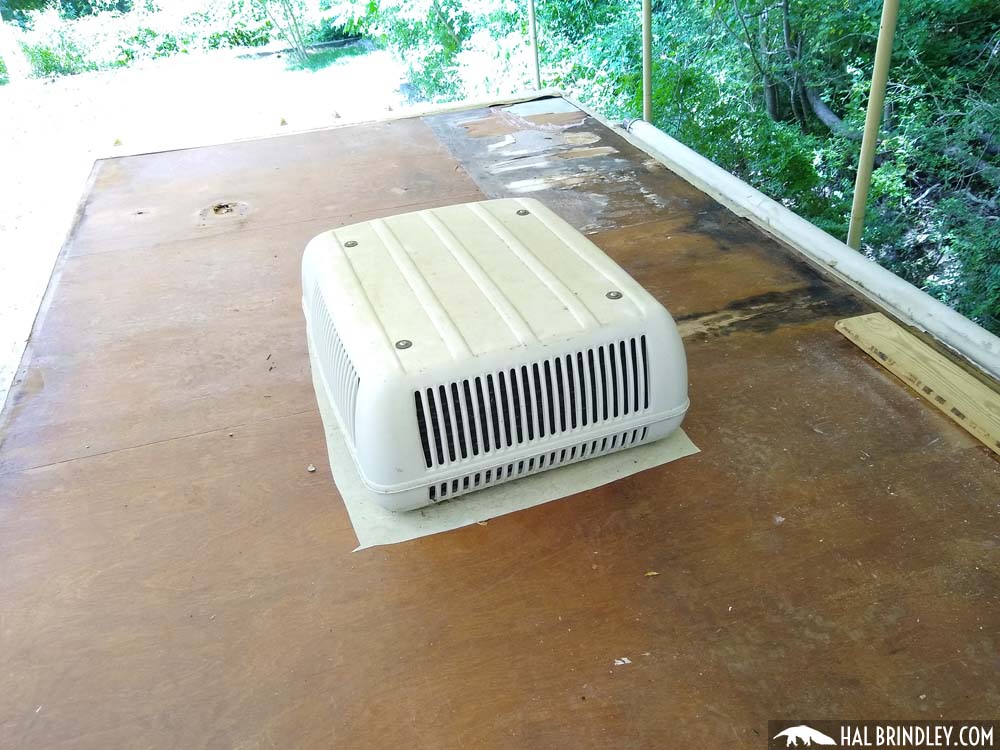
Credit: halbrindley.com
Benefits of a New RV AC Unit
| Benefits | Details |
|---|---|
| Better Cooling | New units cool faster and more evenly. |
| Energy Efficient | Save on electricity bills with less energy use. |
| Quieter | New models make less noise while running. |
| Modern Features | Enjoy features like remote control and timers. |
Think about these benefits. A new AC unit can be a good investment for your RV.
Frequently Asked Questions
How Do I Know If My Rv Ac Needs Replacing?
Check for poor cooling or loud noises. Frequent repairs can also be a sign.
What Tools Do I Need To Replace An Rv Ac Unit?
You need a screwdriver, wrench, and sealant. Ensure you have safety gear too.
Can I Replace My Rv Ac Unit Myself?
Yes, with basic tools and a guide. Follow safety precautions closely.
How Long Does It Take To Replace An Rv Ac Unit?
Usually, it takes about 2-4 hours. Time may vary depending on experience.
What Steps Are Involved In Replacing An Rv Ac Unit?
Remove the old unit. Clean the area. Install the new unit. Seal properly.
Are There Tips For Maintaining A New Rv Ac Unit?
Clean filters regularly. Check seals. Ensure proper airflow. Maintain annually for efficiency.
Conclusion
Replacing an RV roof AC unit can improve comfort. It’s a task you can handle with patience. Follow the steps, and enjoy your cool ride.
Remember to always prioritize safety. Work with a friend if possible. Good luck with your new AC unit!